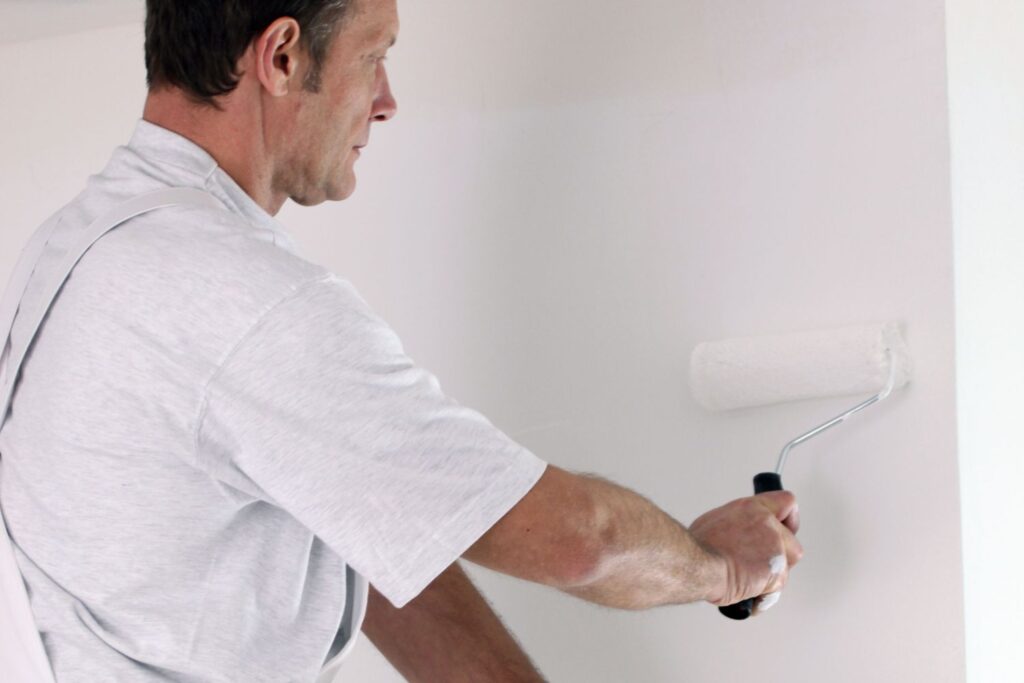
You’ve selected a paint color, bought a couple gallons of premium paint, and your supplies are at the ready. Time to apply the first coat, right?
Not quite yet!
If you’re looking to achieve a flawless finish, you’ll need to start by preparing your walls. Yes, I know – that takes extra time. But if you put in the work NOW, it’ll be worth it in the long run.
(Promise!)
Let me guide you through the five steps of prepping drywall for paint. Then I’ll answer some of the most common questions about drywall prep. Sound like a deal?

This post may contain affiliate links and we may earn commissions when you click on the links at no additional cost to you. See our disclosure policy for more details.
Drywall Prep Supply List
Before you begin, make sure you have all the necessary materials ready. For your convenience, I’ve compiled a list of supplies:
– rollers
– roller covers
– roller extension pole (optional)
– plastic
– spackle
– painting clothes
(Check out the ultimate interior painting supply checklist here.)

Step 1: Remove Nails and Loose Paint
Painting over previously-painted drywall? Start by removing any nails from the walls and scraping off any peeling paint.
Remove nails from the walls and use a paint scraper to pull away cracked or peeling paint. You’ll also want to remove any tape and clean up any sticky residue now. Finally, use a 150-grit sanding sponge (or finer) to even out any bumpy areas.
If you skip this step, you could end up with the same problem a few months or years down the road.

Step 2: Fill Cracks and Holes
It’s important to understand that paint doesn’t fill cracks or nail holes. Which is why you need to fill them yourself before painting.
Use spackling paste to fill in nail holes and cracks. While it’s still wet, remove excess spackle using a putty knife. Once it’s completely dry, you can sand the area smooth and clean the walls.
If you skip this step, you’ll see the cracks and holes through your beautiful coat of paint.

Step 3: Clean the Walls
You can work on this step while the spackle dries. Use a vacuum hose to suck up any cobwebs from the corners and remove dust from the baseboards.
(Don’t have a vacuum handy? A broom also works in a pinch.)
Once the spackle has completely dried, you’re ready to wash the walls. If they aren’t grimy, you might be able to use plain water. Otherwise, use a mild dish detergent or vinegar to clean them.
Make sure your walls are dry to the touch before painting. Otherwise, you could end up with ‘blistering’.
What happens if you skip this step? Well, even if your walls appear clean, they usually have a thin coat of dust and oils from fingerprints. So if you paint over them, they could show up later as stains on your freshly painted walls.

Step 4: Tape off Fixtures and Lay Down Plastic
This is the final step before you prime the walls (if needed). First, remove all outlet covers and switch plates. Tape off the baseboards and the trim around the doors and windows, as well as around any fixtures.
Then cover up anything you can’t move out of the way with plastic. Lay some down on the floor, too, if you’re a messy painter. Once you’ve finished this step, put some comfy old clothes on and get ready to prime or paint.
If you don’t protect your fixtures with tape and plastic, you’ll have to be extremely careful when painting. Otherwise, you could find paint streaks and drips where they don’t belong!

Step 5: Prime the Drywall
You may or may not have to prime the drywall. You’ll want to apply a coat of primer if:
- The drywall is newly installed or repaired.
- The drywall has been previously painted with a glossy or oil-based paint.
- There are stains or discolorations on the drywall surface.
- You want to enhance paint adhesion and durability.
- You’re transitioning from a dark color to a lighter color paint.
- The drywall has a porous or uneven surface.
Using a drywall primer and the application tool of your choice, apply one or two coats of primer onto your walls. A second coat is sometimes necessary. For instance, if you’re priming onto newly installed drywall or if you’re priming over a darker color.

FAQs About Prepping Drywall for Paint
Now, for a few questions homeowners frequently ask about prepping drywall for painting.
Can I paint directly on drywall?
You should not paint on bare drywall. You’ll need to apply at least one coat of drywall primer, possibly two coats.
Is it necessary to use a primer on previously painted drywall?
Painting over previously-painted drywall? Then you might be able to paint without priming. (See Step 5 above for more information.)
What kind of paint do you use for drywall?
When painting drywall, you can use your choice of interior wall paint. You’ll find my list of the top 10 paint brands here.
What happens if you don’t prime drywall before painting?
If you don’t prime drywall before the first coat of paint, several potential issues can arise:
- Uneven paint absorption
- Poor paint adhesion
- Increased paint consumption
- Color inconsistency
- Reduced durability
I always recommend priming new drywall before applying the first coat of paint. Doing so ensures a smooth, even, and long-lasting paint finish. It also provides better paint adhesion, color consistency, and durability.
Properly prepping drywall for paint might be a little extra work up front, but will be absolutely worth it in the long run!
Should I sand drywall before painting?
Yes, it is generally recommended to sand drywall imperfections before painting. Sanding helps to smooth out imperfections, improve paint adhesion, and blend repaired areas.
Can I use any type of paint primer for drywall?
Unless you need to cover up stains or mold, you can use any inexpensive drywall primer. Primers with stain blocking resins are more expensive, so you can use them on an as-needed basis.
What should I do if the drywall has water damage before painting?
If the drywall has water damage, it’s important to address the issue to ensure a successful paint job. Here’s what you should do:
- Identify and repair the source of water damage.
- Dry the affected area completely.
- Assess the extent of damage.*
- Treat and repair stains or discoloration.
- Prime the repaired areas.
- Paint the drywall.
*If the water damage is extensive, consult with a professional contractor. They can ensure the proper restoration of the drywall surface.
Final Thoughts on Drywall Preparation
Properly preparing drywall is paramount to achieving a flawless paint finish. By following the outlined steps before painting, you’ll set yourself up for success.
So grab your tools, follow the process, and enjoy the satisfaction of a successful painting project. Happy painting!
Read More:
Painting For Beginners: How to Paint Interior Walls By Yourself

