Never painted a wall yourself before? Then this one’s just for you! Today we’re bringing you the ultimate guide to painting walls for beginners.
If you’re not exactly new to wall painting, then you can probably skip this one (although, who knows, you just might learn something new!).
We’re going to cover color selection, estimating how much paint you need for the walls, prepping them — and, of course, how to paint a wall with a brush and/or a roller. Finally, I’ll share a few helpful wall painting tips before we part ways.
You have a lot of work ahead of you, so let’s get started!

This post may contain affiliate links and we may earn commissions when you click on the links at no additional cost to you. See our disclosure policy for more details.
Choosing Paint Colors for Beginners
Even if you’re a beginner, you’re probably well aware that choosing paint colors is the first step toward painting your walls. If you have already selected your colors, feel free to skip this section.
However, if you’ve never had to choose paint colors before, it can be pretty overwhelming. After all, there are thousands of paint colors to choose from!
First of all, do you know where you will be buying your paint from? If you do, that’s a good first step. You can look on their site for inspiration, and you might even be able to order sample swatches to try out.
Otherwise, you can click here to scope out the Color Inspiration guides right here on our very own EXPLORE Wall Decor.

(Helpful Hint: How to Choose a Color Palette for Any Room in Your Home is a great place to start!)
The Beginner’s Painting Supply List
If you haven’t already, you’ll want to gather up all of your supplies before getting started. For your convenience, I’ve put together this handy lil’ supply list:
– paint (here are the top 10 brands)
– rollers
– roller covers
– roller extension pole (optional)
– plastic
– spackle
– painting clothes
(Check out the ultimate interior painting supply checklist here.)
Estimating How Much Paint You’ll Need for Your Walls
When estimating how much paint you’ll need to buy for your walls, you first need to figure out your square footage of wall space, and then you’ll multiply it by the number of coats you’re applying.
Finally, divide that number by 350 (if you’re using a roller) to figure out how many gallons of paint to buy.
Calculating the Square Footage
To figure out the number of square feet for each wall, multiply the height by the length, and then remove the square footage of any doors or windows from that wall.
(height x length) – window/door = square footage
A couple of helpful notes:
- A standard door is about 20 square feet
- A standard window is about 15 square feet
Let’s pretend we have a wall that is eight feet high, ten feet long, and has one window:
8′ (height) x 10′ (length) = 80 square feet
80 sq. ft. – 15′ (window)= 65 square feet
And then you would do these calculations for all of the remaining walls in the room, adding up all of your totals. Once you have figured out the square footage for the room, you’ll need to calculate how much paint to buy.
Estimating the Number of Gallons
We’re going to say that one gallon covers 350 square feet (assuming you’re using a brush/roller). You’ll first want to take your square footage and multiply it by the number of coats you’re applying (I’d suggest a minimum of two for the best coverage).
For example:
285 x 2 = 570 square feet
Then you’ll take that number and divide it by 350 to figure out how many gallons you need to buy.
570 / 350 = 1.628 gallons
Since I need 1.628 gallons of paint, I’m going to round it up to 2 full gallons.
Keep in mind that, if you’re painting a darker color over white (or a light color over something dark) you’ll probably need more than two coats — or you might even want to prime over the dark color and then follow up with two coats of paint.
Pro Tip: If you’re using a paint sprayer, please note that you won’t get quite as much coverage out of a gallon. Instead of 350 square feet per gallon, calculate about 200 square feet per gallon.
Prepping Walls for Beginners
You decided on a paint color, bought a couple gallons of paint, and you have some brushes and rollers ready to go. Time to apply the first coat….
Right?
…hold that thought.
If you want a smooth, beautiful finish that stands up to the test of time, you’re gonna want to do a little prep work first.
Unfortunately, it’s going to take a little extra time, but putting in the extra work NOW will be worth it in the long run. I promise.
1. Remove Nails and Loose Paint
Pull nails out of the walls and use a paint scraper to scrape cracked or flaking paint. You’ll also want to peel off any tape and remove sticky residue at this time. For any remaining minor imperfections, a fine-grit sanding sponge will help to even out the walls.
2. Fill Cracks and Holes
Fill in any nail holes and cracks with spackling paste. Remove excess spackle from the walls using a putty knife. Allow it to dry completely (according to the supplied instructions) before cleaning or painting over it.

3. Clean Up Cobwebs
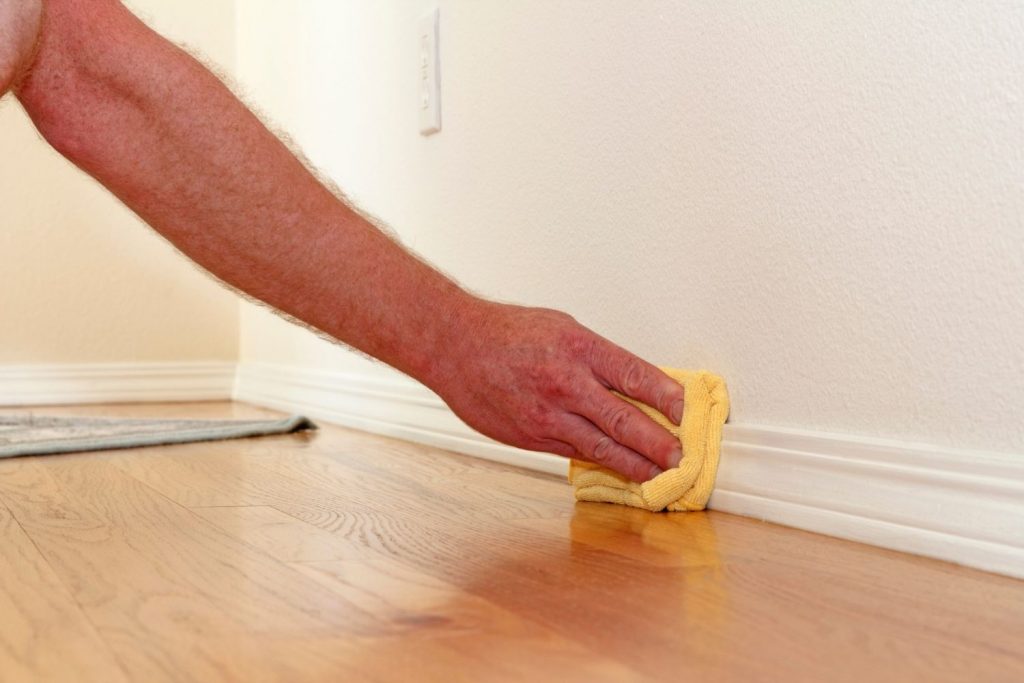
You can work on this step while the spackle dries. Use a vacuum hose to suck up any cobwebs from the corners and remove dust from the baseboards. A broom also works in a pinch.
4. Wash the Walls
Did you know that, even if your walls appear clean, they usually have a thin coat of dust and oils from fingerprints? Yep. And if you paint over them without washing the walls first, they could later show up as stains on the newly painted surface.
If the walls aren’t visibly grimy, you could probably get away with using plain ol’ water. Otherwise, a mild dish detergent or vinegar should do the trick (especially for bathrooms, kitchens, or high traffic rooms).
Check out my guide on how to wash walls before painting (using vinegar).
Make sure the walls are dry to your touch before getting started painting, or you could end up with blistering.

5. Tape off Fixtures / Lay Down Plastic
This is the final step before you start painting. Remove all outlet covers and switch plates. You’ll want to tape off the baseboards, around doors and windows, and around fixtures, too.
Use plastic to cover up anything that can’t be moved out of the way, and you might want to lay some down on the floor as well. Once the walls are prepped, throw on some old comfy clothes, and you’re ready to start painting the walls!
Painting Walls for Beginners
If you have a lot of wall to cover, you’re probably not gonna want to use a brush for the entire thing. (If you do, make sure it’s a good quality one!)
But you’ll still want to start out by cutting in around the edges with an angled sash paintbrush.
Cutting In Around the Edges
Wait a minute… What is this “cutting in” you speak of? It’s simply a fancy way of saying you’ll be painting around the edges of the wall with a paintbrush. You’ll also want to cut in around outlets and light switches, as well as any permanent fixtures on the wall.
A 1.5″ to 2″ angled brush will help you get up nice and close to the edges (without making a mess on your ceiling). The smaller brush size will also keep your wrists from getting sore too quickly.
How to Paint a Wall With a Brush
Then you’ll take a wider paintbrush and dip it into the can of paint — not too far, though. Maybe an inch or so. Scrape excess paint off the bottom of the brush back into the can.
Working in a small area at a time, spread that paint onto the wall, filling in that small area completely before moving on. Avoid trying to spread it super thin all over the wall in an effort to remove ALL of the paint from the brush. Check out this video to see what I mean.
While painting with a brush gives you more control, it does take a LOT more time and effort. The next section will cover how to paint a wall with a roller.
How to Paint a Wall With a Roller
If you plan to use a roller, then you’ll need to pour some paint into the paint tray (add a disposable liner to keep the tray clean).
Dip the roller into the paint, then starting near the edge of the wall (but not right up next to the edge just yet), start rolling the paint vertically onto the wall. Don’t get too close to the ceiling or baseboards just yet either.
After a couple vertical rolls, you can roll your paint right up to the edge, blending into the paint where you cut in. Then very carefully go over the paint again, going up to the top and bottom edges this time, again blending into the paint where you cut in.
When it feels like the roller is getting dry, drip it into the can again and repeat the process.
You can watch this video to see what I’m talking about!
Rolling might not allow you quite as much control, but it does get the job done more quickly, and provides a nice, even finish.
Tips & Tricks for First-Time Painters
Before I sign off, I’ll leave you with a few additional tips for painting walls so that you can achieve a professional looking paint job (even if it’s your very first time).
- Know your nap. If you have textured walls, you’ll need a thicker roller cover, while a thinner nap works well for flat walls.
- Save leftovers for touchups. You can store leftover paint in a mason jar for touchups (be sure to label it!).
- Mix paint well! Use a stir stick to mix it before getting started, as well as throughout the process.
- Get a clean edge. When cutting in around painter’s tape, sweep the paint away from the tape’s edge rather than painting towards it.
- Remove tape immediately. Yes, before the paint dries.
- Remove tape at an angle. Pull it away from the wet paint at an angle to avoid messing up your nice, clean edges.
- Wait to apply additional coats. Follow the instructions on the paint can — you’ll probably have to wait at least a few hours to re-coat.
Painting Walls Tips — Final Thoughts
Sooo. Any thoughts on this ultimate guide to painting walls for beginners? Are you ready to get started painting your walls, or do you have additional questions?
Leave any comments or questions below!
Once the paint has dried, you’re now ready to decorate! Here’s some info on how to arrange wall art in the living room like a pro.


I found it helpful when you said that a 1.5″ to 2″ angled brush could help you not mess up your ceiling since it can help you get up nice and close to the edges. My husband and I will remember this because we are planning to drop by a hardware store this coming Sunday to buy some painting materials like brushes. We want to cover the stains and the markers caused by our children on the walls, and we want to ensure that we will be able to do the job right. Thanks for sharing this.